Ice fishing gets a bad rap. There seems to be a consensus among anglers that once winter hits, the rods get put away until spring. Winter fishing is just too cold and can’t possibly be productive, right?
Sure, it’s cold out. And yes, there is snow, ice, possible slush, and wind. But there’s also the chance to get outside, drop a line, and catch a fish through the ice.
Cold, snow, ice, and slush are all manageable with the right gear, and an ice fishing shelter blocks the wind. So see, there’s no reason not to go ice fishing.
When you first start exploring the sport, it can seem like there’s a massive investment in time and money. However, while some items are more expensive, you can pick up most of the gear at a reasonable cost.
The best thing about ice fishing is that you can get out of the house during those frozen months and still enjoy the great outdoors. The worst part is how freaking cold it is.
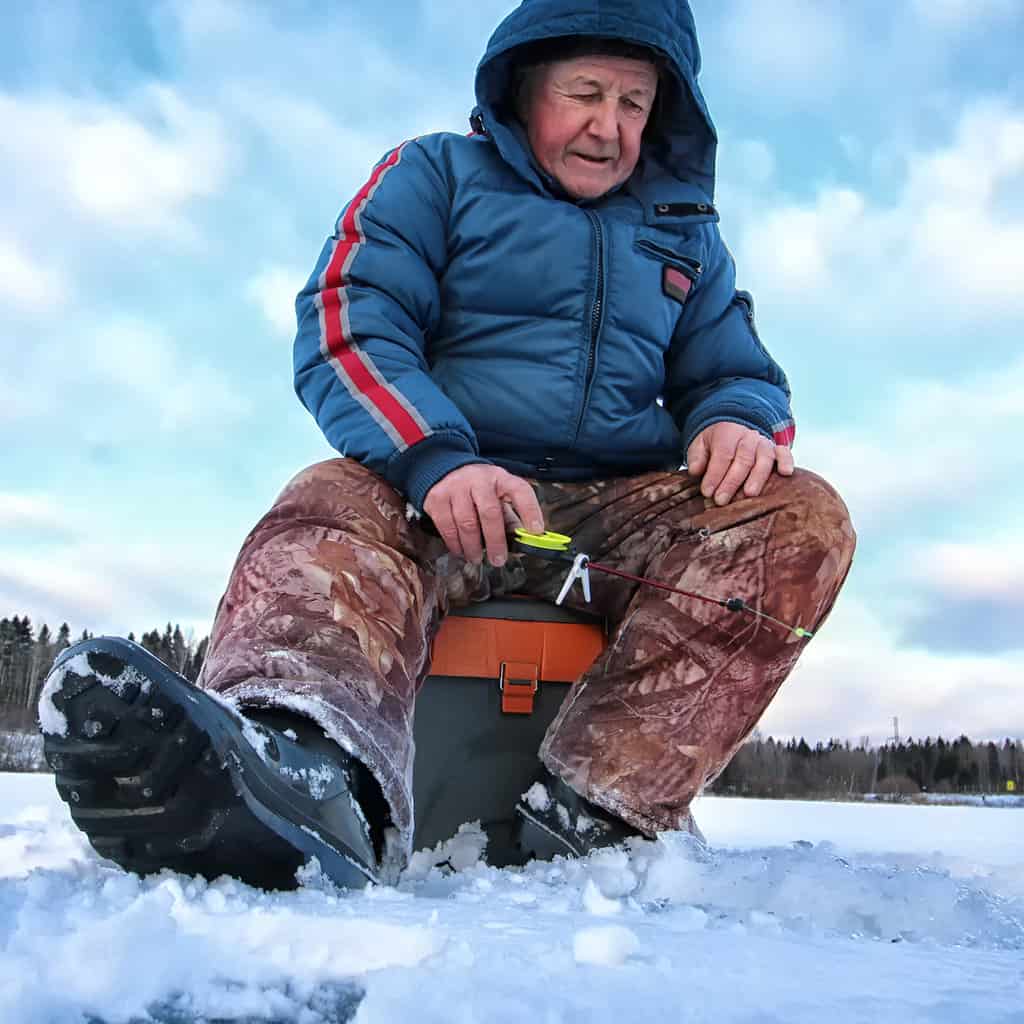
Every angler who has the opportunity should try ice fishing at least once. Whether in a heated shelter or out on the ice facing the elements while sitting on a bucket, it’s something you’ll remember for the rest of your life.
This guide will break down the best gear, baits, and tactics to help make your first or 50th time on the ice successful, safe, and fun.
How To Ice Fish
The basics of ice fishing are pretty simple:
- Find a frozen lake, preferably with fish in it.
- Chop a hole in the ice big enough to pull a fish out.
- Drop a baited hook down close to the bottom and wait.
Sure, it’s slightly more nuanced than that, but that’s the gist of it. So next, let’s get into the gear you need to set up your fishing spot.
Ice Fishing Gear
Ice fishing isn’t a glamorous sport. It’s more of an angler vs. the elements type outing. The elements are typically harsh. It is fishing on a block of ice, after all.
The gear you need should be ready to battle those elements and consistently win.
Here’s a quick list of what you’ll need.
Ice Fishing Basics
Safety gear: Safety on the ice is paramount. Ice picks, a long rope, and a floatation device should be with you on every trip. Safety ice picks will slide through your coat sleeves, so you will have them at all times. Ice traction on your boots is a must.
Ice Auger: Gas, electric, or manual augers get you through the ice. Chisels are okay but require a lot more effort to get through.
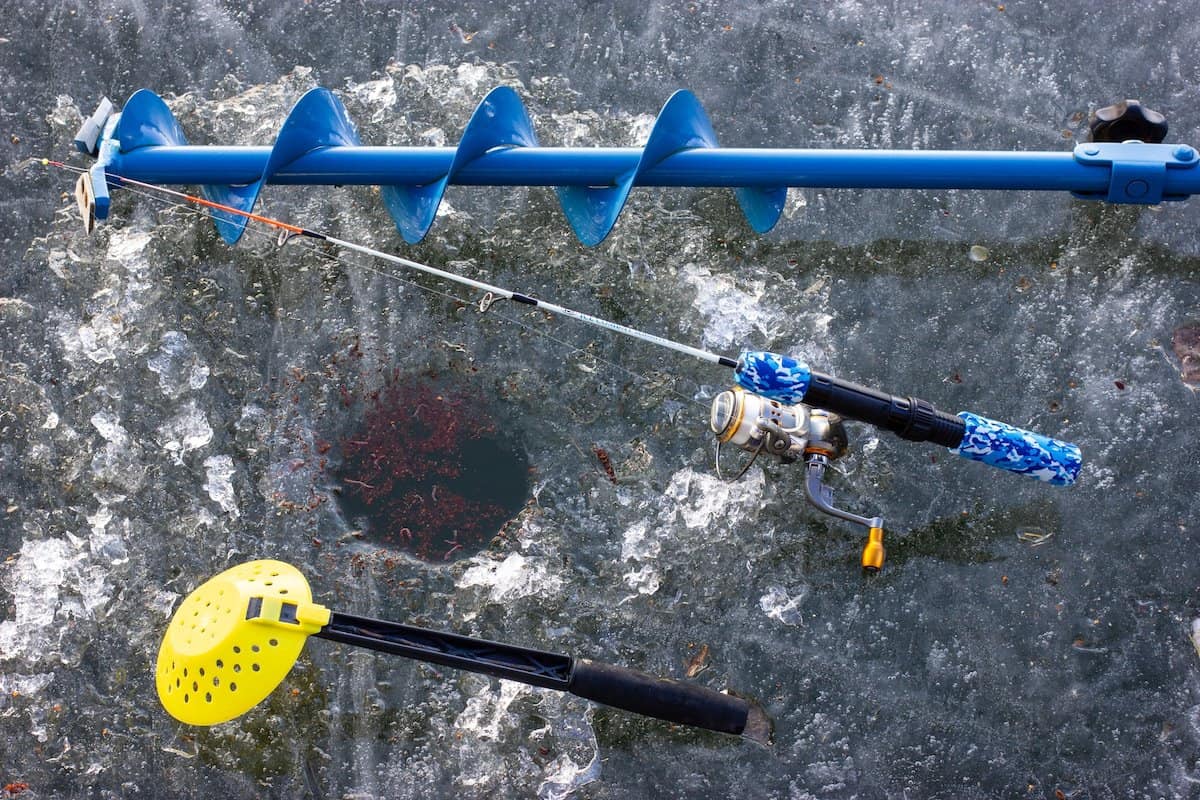
Rod, Reel and Line: Your line should be rated for your fishing conditions. Ice fishing rod/reel combos are usually cost-effective and will have pre-spooled line.
Ice skimmer: A skimmer helps remove slush and ice buildup from the hole.
Tip-ups: A tip-up is a simple fish trap with a flag that alerts you when the fish bites. When the fish pulls the line, the flag goes up.
Tackle: Small Swedish Pimple spoons, Rapala Jigging Shad Raps, and just about any small soft plastic that glows are effective for multiple species. Use mealworms, waxworms, or cut bait to tip the hook.
Bucket: A 5-gallon bucket makes the perfect seat and gives you a spot to put your catch at the end of the day.
Needle-nose pliers: A good pair of fishing pliers will cover all.
Ice Sled: Any sled that’s big enough to haul your gear.
Warm clothing: Layers are the name of the game. Bibs, hoodies, thermals, fishing gloves, and a waterproof jacket should do. Don’t forget the beanie and sunglasses. You can get sunburned in a hurry out there.
Waterproof boots: There’s not much worse than cold, wet feet. A good pair of waterproof winter boots will help immensely. Bring a change of wool socks along, just in case.
Nice to Have
Fish Finder: A fish finder with a flasher will save you from drilling a thousand holes.
Transportation: Most frozen lakes require a long hike to get to your spot. A snowmobile or ATV will make short work of it.
Ice Shelter: An ice shelter gets you out of the wind.
Portable Heater: A propane heater can tip the scales from a miserable day and a fantastic one.
Cooler/Propane Grill: Who doesn’t love some grilled brats and a beer while fishing? The cooler is actually to keep the beers from freezing.
Choosing Your Spot
Finding the right place to drill your hole can be challenging. If you’re fishing familiar water, set out to find the same structure, drop-offs, and vegetation you usually fish.
If you’re new to the lake, do some research. First, study a lake map to find drop-off locations, any submerged structures or rocky points, and where the weed beds typically are.
Drill a few test holes and be prepared to move after 30 minutes if you do not see any action.
Don’t be afraid to ask your fellow anglers. Ice fishing is a communal sport, and most anglers are happy to share tips. It’s not like you’re asking for their favorite salmon location.
A fish finder with GPS and a flasher takes the guesswork out of finding the fish. It’s technically possible to scan through the ice but drill a test hole for the best results.
Get on the water at least 30 minutes before sunrise to have the best chance of success. It’s not a great idea to make much noise throughout the day while your rod is in the water.
Drilling holes can disturb fish. They aren’t fans of noise, so be sure to drill your holes early and then refrain from being too active on the ice.
Once you’ve settled on a spot, break out the auger or chisel. Remove snow from the ice and drill through until the auger breaks through.
Warning: the auger will fall into the water under the ice. Be sure it’s secured tightly to the handle, or it will be your first and last hole drilled with that auger.
Augers
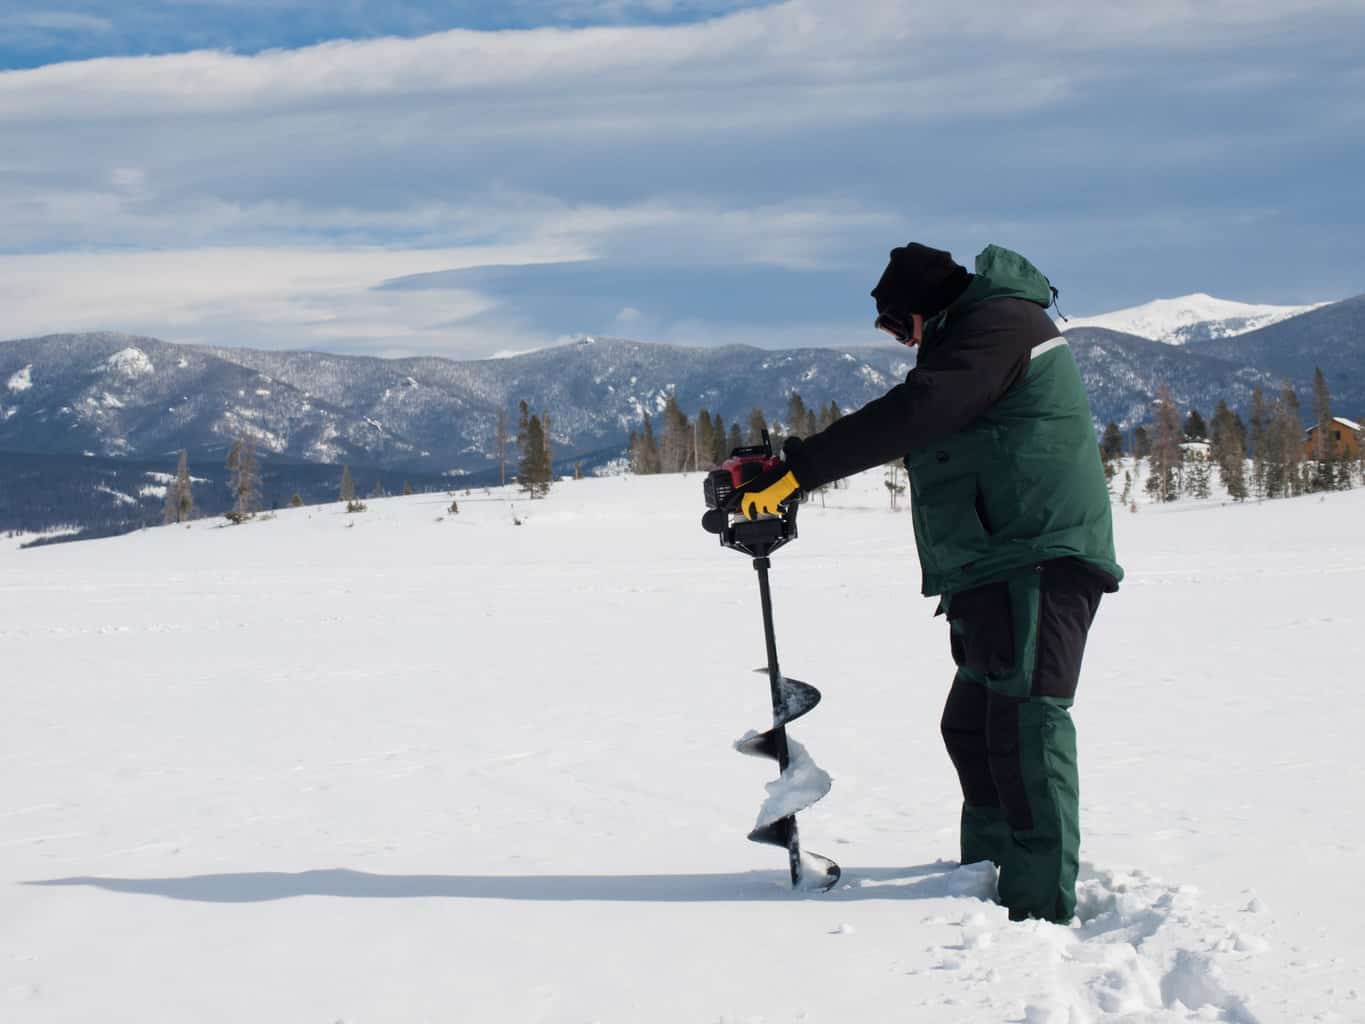
The three main auger types are gas, electric, and elbow. Gas and electric augers are great because you can chop right through without wearing yourself out. Elbow-powered augers, otherwise known as manual ones, will have you sweating in no time.
Check your auger blades to ensure sharpness. A dull blade makes manual drilling closer to starting a friction fire than cutting a hole. I’ve been there. It’s terrible.
Gas-powered augers will make drilling a hole quick. The issue with gas augers comes from the temperature. Extreme cold can make them difficult to start.
Electric augers work well without starting issues, though the batteries can drain fast. Be sure to bring backups.
Manual augers are the least expensive. They require the most effort, but the cost savings may be worth it.
There are also attachments available to connect auger bits to electric drills. If your drill is powerful enough, that may be a good option.
Now that you’ve gotten through the ice, let’s break down the different setups.
Rods, Line, and Tip-ups
Rods and Reels
A typical ice rod is between 28 to 36 inches long. They are available in everything from ultra-light to heavy action, so pick the one best suited for your target fish.
An ultra-light rod is excellent for smaller trout and panfish, while walleye, pike, and muskie require a heavier action rod.
I’m partial to the St. Croix Mojo ice spinning rod. It’s available in several sizes and doesn’t require a second mortgage to purchase.
Line
The line you pick is critical to your success. There are ice fishing-specific lines in mono, fluorocarbon, and braid. Fluorocarbon is great because it’s nearly invisible underwater yet still provides decent stretch.
A braided line is the best option for your tip-ups. Make sure it’s rated for ice fishing, or it will absorb water and freeze up on you. Cabela’s braided nylon tip-up line is a reliable option and has color-coded depth marks. That makes setting your depth easier without dragging your fish finder around.
Tip-Ups
Next up, let’s go over tip-ups. A tip-up is a fish trap that lets you get hands-on with the fish. The line spool is attached to the base by a swinging arm. The other end of the arm has a clip where you connect the flag.
Most tip-ups come with adjustable triggers that let you set the sensitivity. You don’t want it so tight that the fish feels resistance. However, make it too loose, and your minnow will set it off by swimming around.
Rigging a Tip-Up
Rigging a live minnow (where allowed) or other bait on your tip-up is easy. Add a barrel swivel to the mainline and attach about three feet of leader. If targeting pike and muskie, here’s where you add steel wire or a quick-strike rig to the leader.
Tie on your hook(s) and then bait them when ready. To get the best action, hook the minnow under the dorsal fin. Depending on the size of your bait, you’ll want to use either split shots or a heavier slip weight.
Rig the split shot about 16 inches above the minnow to keep it at the proper depth. For bigger baits, use a heavier slip weight above the swivel.
Be sure to compensate for the length of the leader if using slip weights. For example, if the fish are 15 feet down and you don’t adjust, your bait will only be 12 feet.
Drop it in the ice hole and lower it to your chosen depth. Set the trigger to the size of the fish and give the flag a test. Adjust as needed.
Now rinse and repeat with your other tip-ups.
This is where the propane grill comes in handy. Cook some lunch while you wait, keeping an eye on the flags. Jigging in another hole while waiting can be productive.
Once the flag goes up, the race is on. Don’t break your neck but get there as fast as you can.
Set the hook with a quick snap if the fish is still on the line when you arrive. A hand-over-hand strategy works best for pulling up your line. Be sure not to step on the line you’ve brought in.
Once the fish is on the ice, it’s time to rig up and catch the next one.
If your tip-up isn’t getting any action, you may consider changing the bait or location. Check the hole for depth and activity if you have a fish finder.
Ice Fishing Baits
Live minnows certainly are a favorite wherever allowed and available.
Size your minnows to your intended catch. Smaller shiners or other types of locally available minnows are ideal for panfish, trout and other small and medium-sized fish.
Larger types of baitfish, including big minnows, suckers, chubs and others, won’t catch bluegill but they will draw in some of the larger predators, such as pike and muskellunge.
To keep your baitfish live and swimming, which will attract more predatory fish, it’s important to hook them in non-vital organs.
Passing the hook just under the back side of the dorsal fin is one of the more popular methods and keeps the hook centrally located.
Some anglers also hook baitfish through the lips or on along the fleshy back of the baitfish just in front of the tail.
Where live minnows aren’t legal or available, frozen dead minnows or pieces of minnows are a good option to fish alone or to dress up a lure hook.
Worms and larvae baits are excellent options when fishing through the ice.
Waxworms, spikes (a.k.a. maggots), mealworms, red worms (wigglers) and nightcrawlers are all great baits by themselves or when tipped on the hook of a jig or other ice-fishing lure.
Like a small minnow, these live terrestrial baits tend to catch almost any fish that swims under ice. So bring one or more of these if you aren’t too choosy about what you bring up through the hole in the ice.
Some prepared baits including versions of live baits also will catch fish through the ice, although many anglers prefer the real thing.
Jigging
It’s common to have one more productive hole than the others. So if you have a tip-up set on that hole, swap it out and use your rod.
Active fishing with a jig will bring more fish to the ice. First, drop your jig to the preferred depth. Once there, lift the rod tip several inches, then let it drop.
Twitch the jig up and down for a few seconds, then rinse and repeat until you get a bite.
Ice fishing can be frustrating. The bite is typically much softer in cold water. Add a small spring bobber to the end of your rod to detect bites.
Fish Finders
A fish finder/flasher will make ice fishing far more successful. Targeting the right area and depth can take most of the guesswork out of fishing.
A good finder will have GPS and a flasher option. The GPS helps immensely on lakes you’ve never fished before. Download a contour map and use it to find suitable structure.
A flasher allows you to get a readout of the water column. When you first set up, you’ll need to fine-tune the settings so the bottom of the screen is just below the bottom of the lake.
Spend some time getting to know the screen. Once you figure out how to read it, you’ll be able to see your lure and the fish and be ready to anticipate bites.
Best Ice Fishing Times
Sure, ice fishing can happen at any time, day or night. The best times depend on your targets. Here are the general guidelines:
Walleye: Ice anglers heavily target walleye. These fish are most active during the evening hours. Walleye have fantastic night vision and feed in lower light than most fish. Be prepared to fish until late evening for these toothy critters.
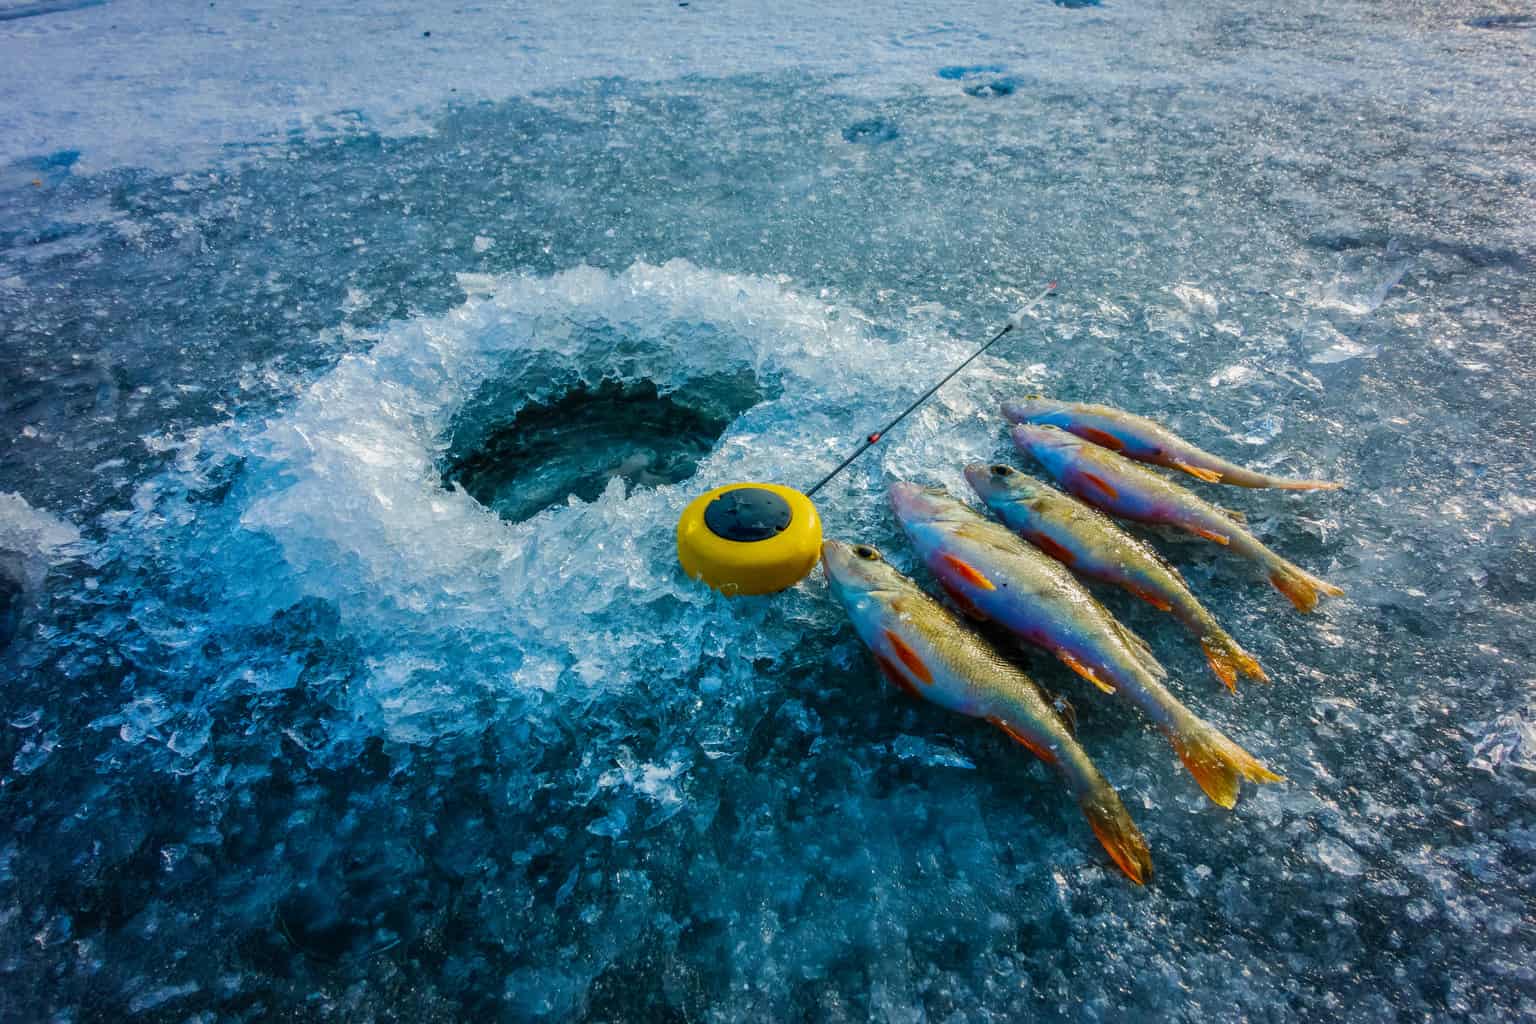
Yellow perch: Perch might be the other most popular species for ice fishing. They’re active throughout the day, though first light and sunset really drive the bite with perch. Once you find a school, the fishing can be nonstop action. I’ve run out of bait while catching perch and used pieces of my catch to bring in more.
Trout: Target trout early in the day for best results. From first light until the early afternoon is the best. Winter cold finds them in fairly shallow water, so target them 10 to 20 feet down, possibly shallower.
Northern Pike: Pike are well known for their affinity to cold. The colder, the better. Set your tip-ups before sunrise for the best chance. As the water warms, they become less active.
Burbot: Burbot are nocturnal, so night fishing is a must. It can get downright miserable at night, so consider a fishing shelter. If not, wear everything you have to stay warm. Burbot are typically fairly deep and hold in rocky structure. It’s rare to catch one during daylight hours.
Muskellunge: Muskie fishing can be fantastic in the winter. Several states close muskie season around the beginning of December, but for those that are still open, it can be epic. It’s pretty common when fishing for crappie to catch a muskie. They seem to be active throughout the day.
Summary
It’s time to get out and catch some fish through the ice this winter. Ice fishing is a great sport you can enjoy with friends.
Every year the majority of anglers put their gear away until spring. If that’s you, why not try out ice fishing?
Best Ice Fishing
Click the following states to find the best ice-fishing lakes in each location. We are currently in the process of adding more states.